Last updated November 18, 2026


Free written scope consultation - allowances, timeline, and change-order rules on paper before a single trade is scheduled
Construction Emergency Preparedness Guide for North Miami Homes
Most emergency checklists for North Miami homeowners read like a camping trip packing list: water, batteries, plywood, a battery-powered radio. Useful, but they miss the part that actually decides what happens to your house. Emergency outcomes in North Miami are usually set months before a storm, in the construction details hidden behind your drywall and under your shingles. The way your roof deck is fastened, the way your windows are anchored, the way your doors are rated: those choices are made at installation, not at the last minute. This guide walks through the pre-storm construction hardening decisions that determine whether you’re filing a repair claim or a reconstruction claim, and it covers what to inspect, what to prioritize, and what to stage on-site before the season starts.
Quick Answer
Construction-level storm preparedness for a North Miami home comes down to three things: reinforcing the connections that hold your roof, windows, and doors to the structure; choosing impact-rated glazing and cladding rated for the local wind zone instead of improvised shutters; and staging the right repair materials before the season so a small breach doesn’t become a full envelope failure. Homeowners who invest in these structural hardening steps before a storm typically face repair calls, while those who skip them often face reconstruction.
Styles & brands we work with
- Kitchen remodeling
- Bathroom remodeling
- Home additions & ADU
- Roofing
- Windows & doors
- Driveway & pavers
- Fence
Table of Contents
- Why Construction Preparedness Matters More Than a Supply Kit
- The Structural Hardening Hierarchy for North Miami Homes
- Pre-Storm Construction Inspection Protocol
- Impact Glazing vs. Storm Shutters: A Materials and Code Comparison
- Emergency Repair Materials to Stage Before Storm Season
- Post-Storm Damage Documentation Protocol
- Common Mistakes to Avoid
- When to Call a Professional
Why Construction Preparedness Matters More Than a Supply Kit
When a storm approaches North Miami, the news cycle shifts to evacuation zones, gas lines, and canned goods. All important. But the variables that decide whether a home stays livable through the event are almost entirely structural. A home that lost its roof deck didn’t lose it because the homeowner forgot to buy flashlights. It lost it because the fasteners that held the sheathing to the trusses gave way, and once a section of deck goes, the whole envelope follows.
That’s why we push homeowners to think of storm preparedness as a construction project that runs through the year, not a shopping trip. If you’re planning a re-roof, a window replacement, a door upgrade, or a fence rebuild, you have a rare window to bake resilience into the work. You’re already paying for labor and materials; the incremental cost to upgrade fasteners, anchors, and tie-downs is small compared to the cost of a post-storm reconstruction. The decision points come around once every twenty to thirty years for most homeowners. Making them correctly the first time is the whole game.
Here in North Miami, this matters in a way it doesn’t in most of the country. The wind zone, the storm exposure that shapes the local building code, and the density of older housing stock built before the current code cycle all combine to make construction hardening a serious, specific, local subject. Generic national guidance usually doesn’t go deep enough. What follows is the version we work with in the field.
One more thing: this is a North Miami issue, and it involves a fair amount of code reference. If your home was built before the current wind-borne debris region requirements took effect, and if it has never had a re-roof or window upgrade since, it’s worth a professional inspection just to know what you’re working with. That inspection is not an emergency.
The Structural Hardening Hierarchy for North Miami Homes
Not every hardening upgrade is worth the same. Some prevent catastrophic loss; some prevent cosmetic damage. Prioritize in this order.
First priority: the roof-to-wall connection and the roof deck attachment. These are the two failure points that most often turn a recoverable storm into a gut renovation. If the roof deck lifts, water gets into the attic, ceilings fall, and everything under them is a loss. The deck is held down by the sheathing nails. The roof is held to the walls by hurricane straps and clips. Both are visible during a re-roof or attic inspection, and both can be upgraded without taking the roof off in many homes.
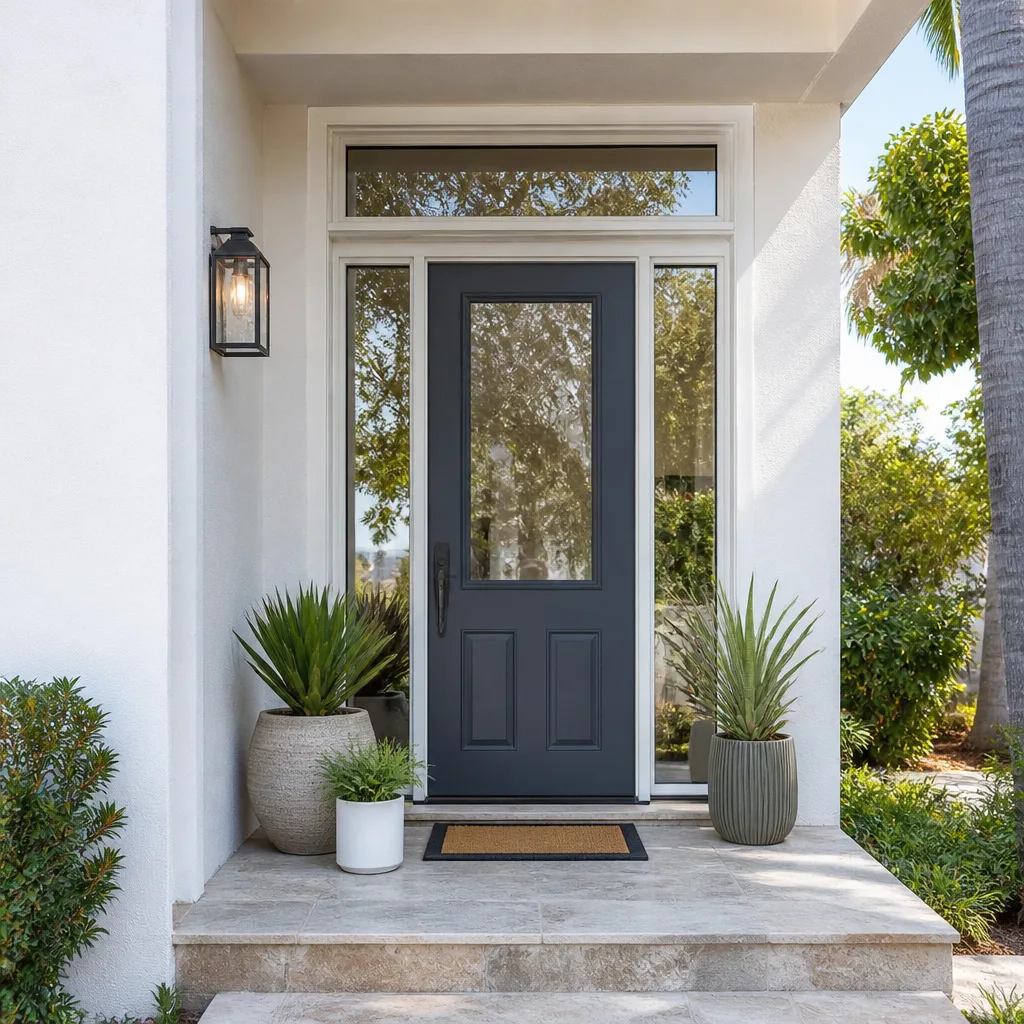
Second priority: opening protection. Windows and doors are the largest unbraced penetrations in the envelope. When glazing fails, wind-driven rain floods the interior, and internal pressurization can lift the roof from below. Impact-rated windows, impact-rated entry doors, and impact-rated garage doors are the correct solution for a North Miami home. If you’re not ready for a full replacement, rated shutter systems installed to manufacturer specifications are the interim answer.
Third priority: exterior cladding and envelope sealing. The wall assembly has to shed water, not absorb it. Fiber cement and engineered siding like James Hardie products outperform earlier-generation materials in high-wind, high-rain exposure. The installation details: flashing at penetrations, correct fastening schedules, proper caulking at trim and joints: matter as much as the material itself.
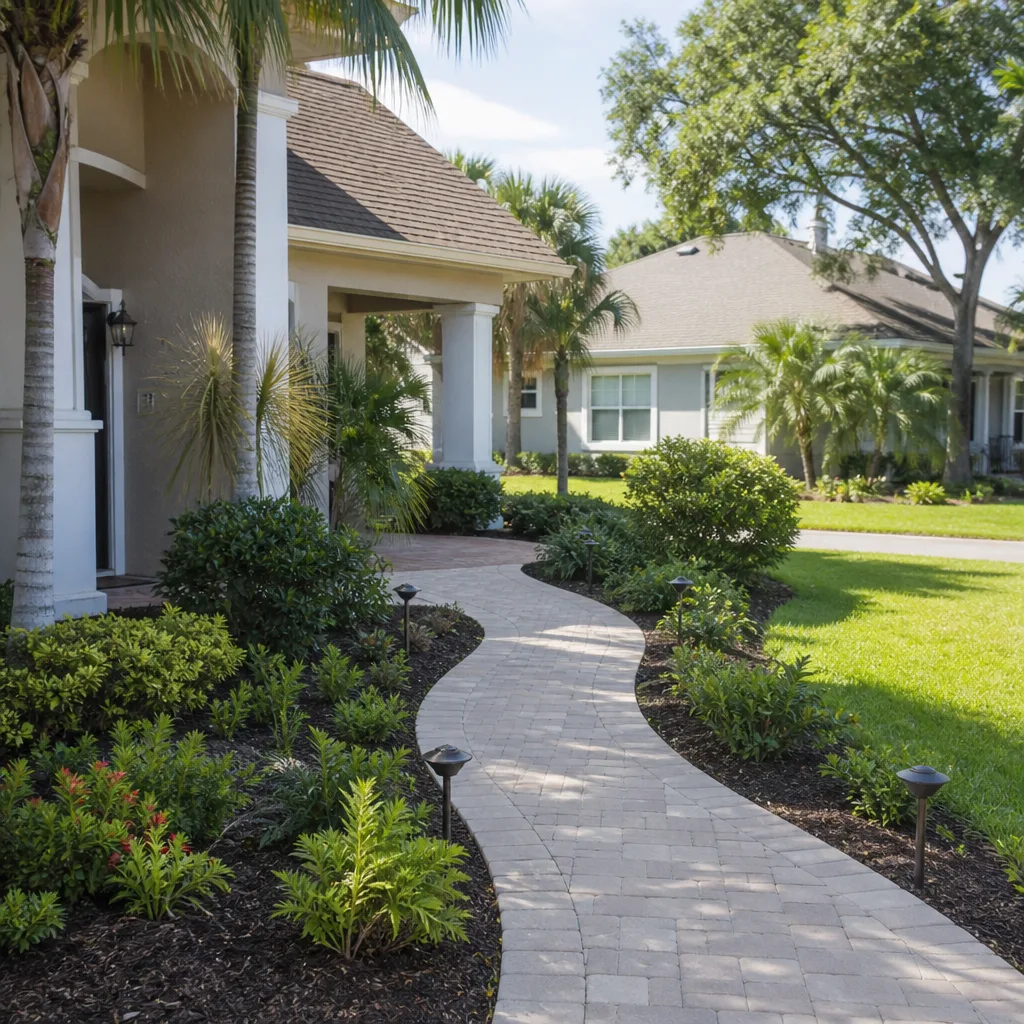
Fourth priority: site drainage and hardscape. Standing water against the slab and around the foundation is a slow-motion emergency that plays out over every storm. The driveway & pavers you install can either channel water away from the house or hold it against it, and the grading decisions you make during that project are a real part of storm readiness.
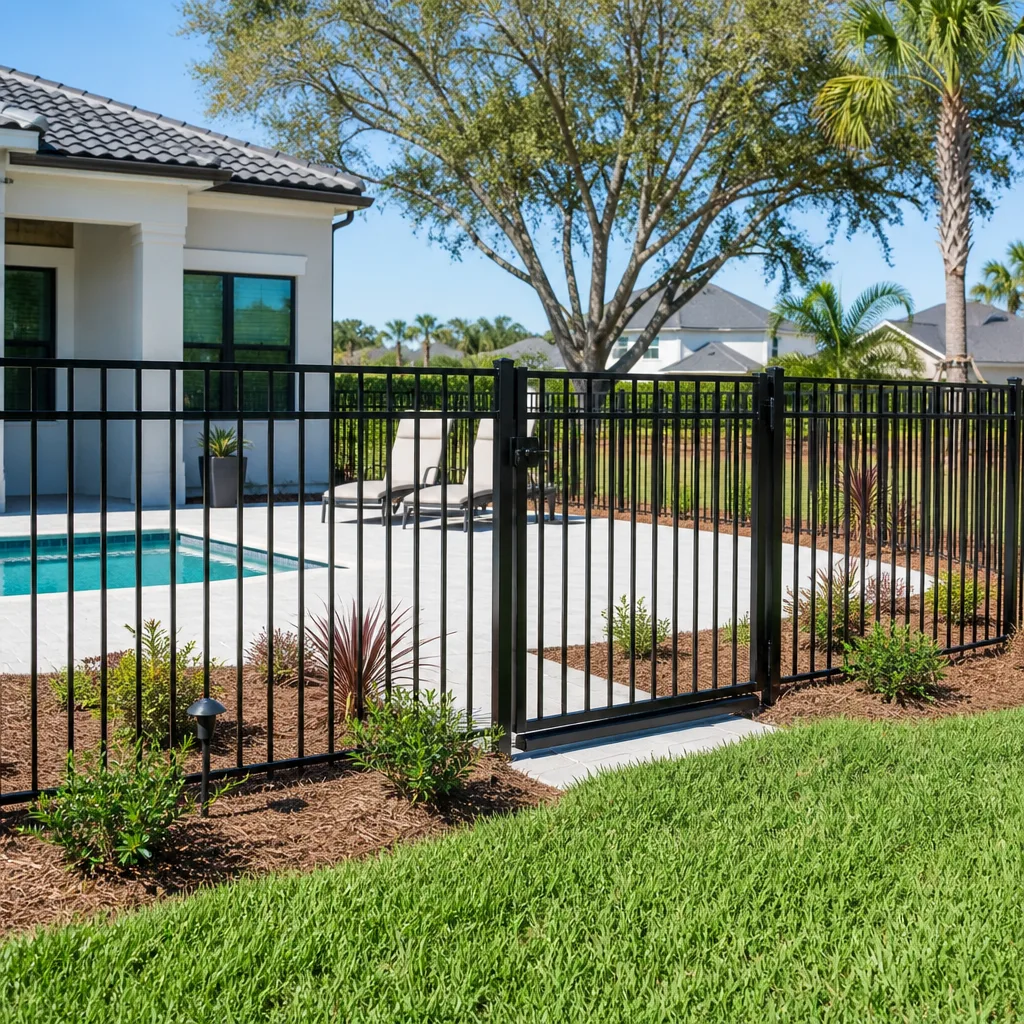
Fifth priority: perimeter and yard. A failing fence is not just a wind-borne debris source for your neighbors; it’s also a security breach in the immediate aftermath of a storm when your home may be unoccupied. A properly set fence installation with deep-set posts and rated hardware is a real part of a comprehensive plan.
Pre-Storm Construction Inspection Protocol
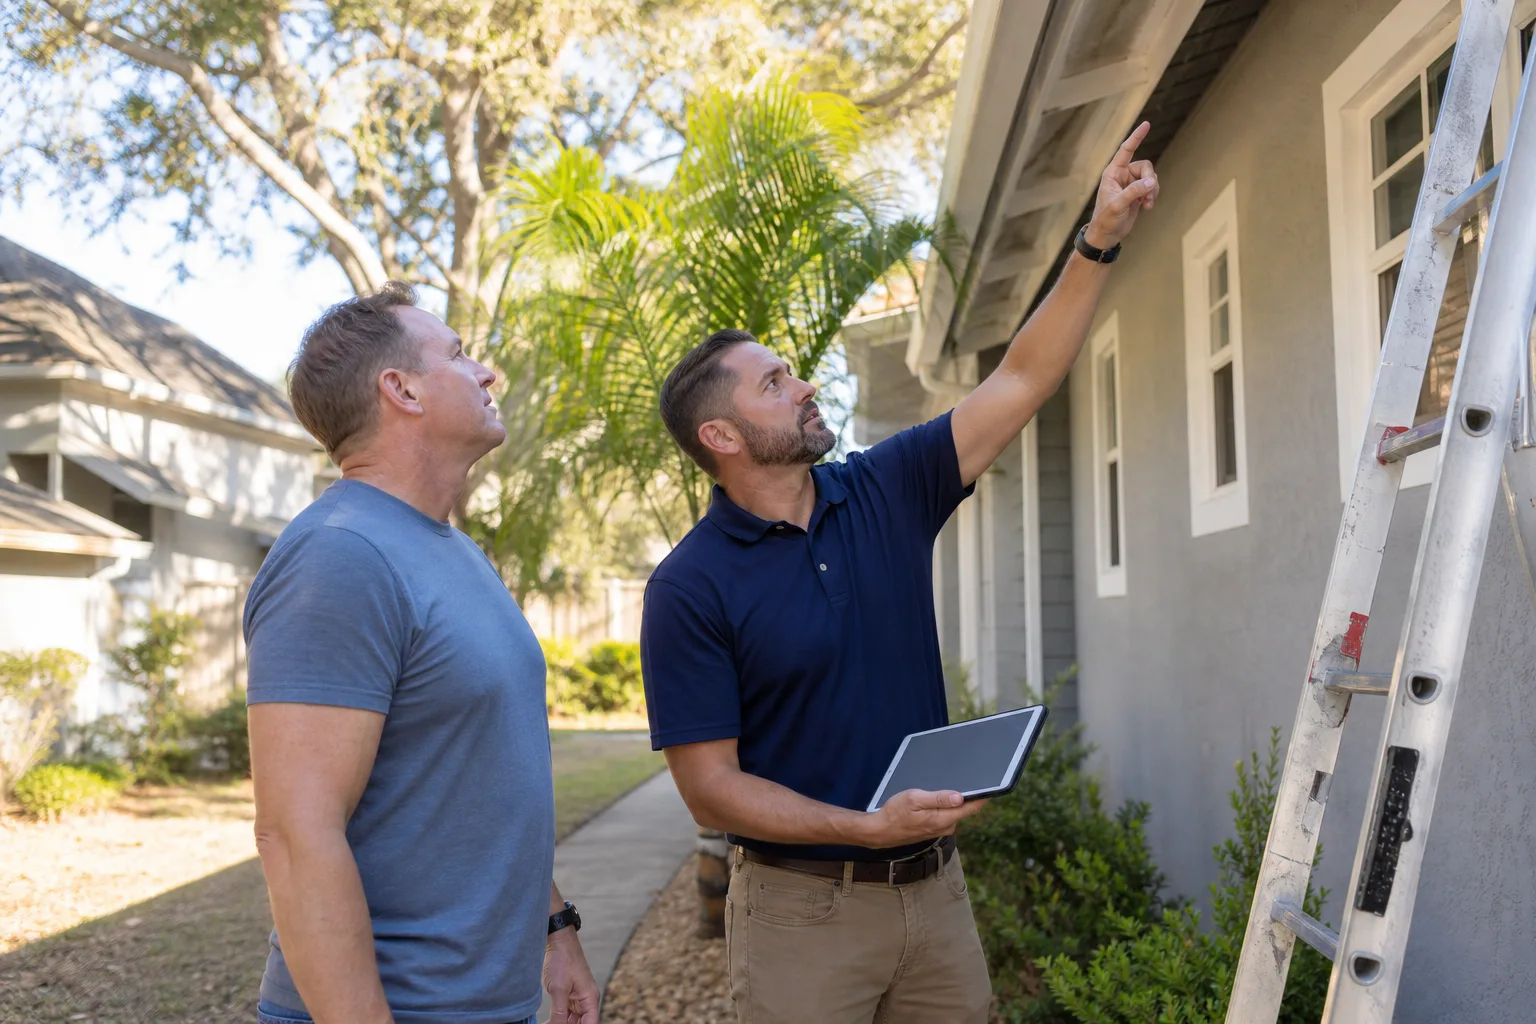
A proper pre-season construction inspection is not a general home inspection. It’s a targeted audit of the specific connections, penetrations, and attachments that fail in real storms. Here’s the protocol we use, and the one homeowners can walk through themselves against their own home.
- Check the roof-to-wall connection. From inside the attic, look at where the roof trusses meet the top plate of the exterior wall. You’re looking for metal straps, clips, or wrap-over connectors. If the trusses are simply toe-nailed into the wall with no metal connector, that’s a hardening gap that should be addressed at the next re-roof.
- Look at the sheathing fasteners. From the attic, you can see the undersides of the roof deck and the nail tips. Ring-shank nails (they have ridges on the shank) hold dramatically better than smooth-shank nails (they don’t). If the deck was nailed with smooth shank, you know a deck-over during the next re-roof is worth considering.
- Test every window and door for positive operation. A window that sticks or a door that doesn’t latch is a window or door that won’t seat properly under wind pressure. Fixing hardware and hinges before storm season is cheap; a failed latch during the event is not.
- Walk the exterior for cladding and sealant failures. Cracks, missing caulk at penetrations, failed flashing around vents and chimneys, and gaps at trim all let water in. These are maintenance items that, left unaddressed, become leak-and-rot items within a single season.
- Check your garage door hardware and the connection to the wall. The garage door is the largest single opening on most homes and one of the first failures in a wind event. Look at the vertical tracks, the hinges, and the reinforcement brackets. If the door isn’t rated for the local wind zone, and the brackets are lightweight builder-grade, it’s a weak point.
- Inspect the fence posts and any attached structures. Loose posts, missing fasteners, and any outbuildings or detached structures not anchored to a foundation become wind-borne hazards. Any freestanding structure on the property is a liability, not just to you but to your neighbors’ homes.
If you find gaps or have trouble reading the connections, that’s the point of the inspection. You’re establishing a baseline. A licensed contractor can walk the house with you and give you a prioritized list, and that list becomes the plan for the next twelve months.
Impact Glazing vs. Storm Shutters: A Materials and Code Comparison
North Miami sits in one of the strictest wind-borne debris regions in the country, and the local code requires that windows and doors in the affected areas resist the impact of wind-borne debris. That’s the requirement. How you meet it is where the real decisions are.
Impact-rated glazing is the modern solution. An impact window is a laminated assembly: two panes of glass bonded to a tough interlayer that holds the glass together even after it cracks. In a storm, the glass can break, but the interlayer keeps it in the frame so the envelope stays sealed and the home stays pressurized. Impact-rated window and door lines from manufacturers like PGT and CGI are engineered and tested to the local code, and they carry documented performance data from accredited wind-tunnel testing. They’re the cleaner answer for the long run: no shutters to install, no hardware to maintain, no scramble when a storm changes track.
Storm shutters are the other compliant path, and they work when they’re installed correctly and deployed in time. The failure modes are not the panels themselves: they’re everything around them. Shutters stored in a garage that becomes inaccessible, shutters installed with inadequate anchors, and shutters that the homeowner can’t physically deploy in time are all common failure patterns. If you go the shutter route, commit to the deployment drill and to annual anchor inspection. Panels in a box in a closet are not protection.
Here’s the honest comparison:
- Impact windows: permanent protection, no deployment step, higher upfront cost, better noise and security performance year-round.
- Storm shutters: lower upfront cost, requires storage and deployment every event, functionally invisible to the envelope when not deployed.
- Both approaches: valid only if the installation matches the manufacturer’s tested assembly and the local code. A shortcut install defeats the rating, no matter what product was purchased.
For homeowners doing a full window and door replacement, impact-rated assembly is almost always the more practical long-term answer. If you’re planning a bigger project like a home addition & ADU, build the impact-rated assembly into the plan from the start, because the envelope is a single system, not a patchwork.
Emergency Repair Materials to Stage Before Storm Season
Once a storm passes, demand for repair materials spikes, and the products that actually work sell out first. Staging a small, specific kit before the season starts is the difference between being able to protect your home in the first 24 hours and standing in line hoping for the best. Here’s what’s worth staging.
What works:
- Heavy-duty plastic sheeting (6 mil minimum) for temporary roof and wall coverings, with cap nails or button-cap fasteners to hold it. Ordinary staples and duct tape fail in the first wind gust.
- Coil roofing nails and a hammer for shingle repair, plus a small supply of matching shingles if you can store them.
- Properly sized plywood panels (5/8 inch minimum) pre-cut and pre-marked for each window you plan to board. Pre-fitting the panels and labeling them takes a few hours before the season and saves confusion during it.
- Rated structural screws for fastening brackets, hardware, and temporary coverings. Not drywall screws.
- Waterproof sealant tape (butyl or EPDM-backed) for sealing small penetrations and seams.
- A pry bar, a reciprocating saw, and a battery-powered work light for temporary emergency access and demo.
What’s marketed as emergency and often fails:
- Thin (3-4 mil) plastic sheeting sold as “storm plastic”: tears in the first real gust.
- Asphalt-based “roof patch” sprays and tapes advertised for emergency use: they don’t adhere reliably to wet or dirty surfaces, which is exactly the situation after a storm.
- Untested “hurricane tape” for glass: does not provide coded protection, and on glazing it can create a false sense of security.
- Lightweight poly tarps without a proper fastening system: they flap, abrade the roof surface, and self-destruct within hours.
Store the kit in a location that isn’t going to flood, and check the expiration dates on sealants, tapes, and adhesives each year. Materials sitting in a garage for a decade don’t work when you need them.
Post-Storm Damage Documentation Protocol
As soon as it’s safe to walk the property, document everything. The documentation you produce in the first 48 hours after a storm, before you touch or clean anything, is worth far more than anything you produce weeks later when a contractor dispute or an insurance question comes up. The repair surge after a major event in North Miami is also a moment when documentation separates a smooth claim from a contested one.
- Photograph and video every room before cleanup. Wide shots then close shots. Ceilings, walls, floors, contents. Timestamp everything and back it up to cloud storage immediately.
- Photograph the exterior elevation by elevation, starting at the roofline and working down. Include the roof from as many angles as you can safely capture, and include close-ups of any missing shingles, damaged flashing, or failed sealant.
- Photograph the source of any water intrusion, not just the damage. A picture of the ceiling stain is useful; a picture of the failed window seal above it is far more useful.
- Write a dated inventory of damaged materials and contents. Note brand names, model numbers, and approximate age where you can. Pull receipts from your files if you have them.
- Do not discard damaged materials until your adjuster or a licensed contractor has seen them. Throw-away is a documentation decision, not a cleanup decision.
- Get two written opinions on any repair that isn’t obviously cosmetic. A licensed contractor’s written assessment, with photographs, protects the homeowner against both underestimates and inflated scopes.
Keep every contractor communication in writing, including the written estimate. The written estimate is what sets the price, and having one on file makes every subsequent conversation cleaner. If your repair requires a permit (and most structural repairs do), the documentation trail matters for the permit inspection as well.
Using Your Next Construction Project as a Preparedness Upgrade
Every significant construction project is an opportunity to harden the home, often at surprisingly low incremental cost. That’s worth planning for.
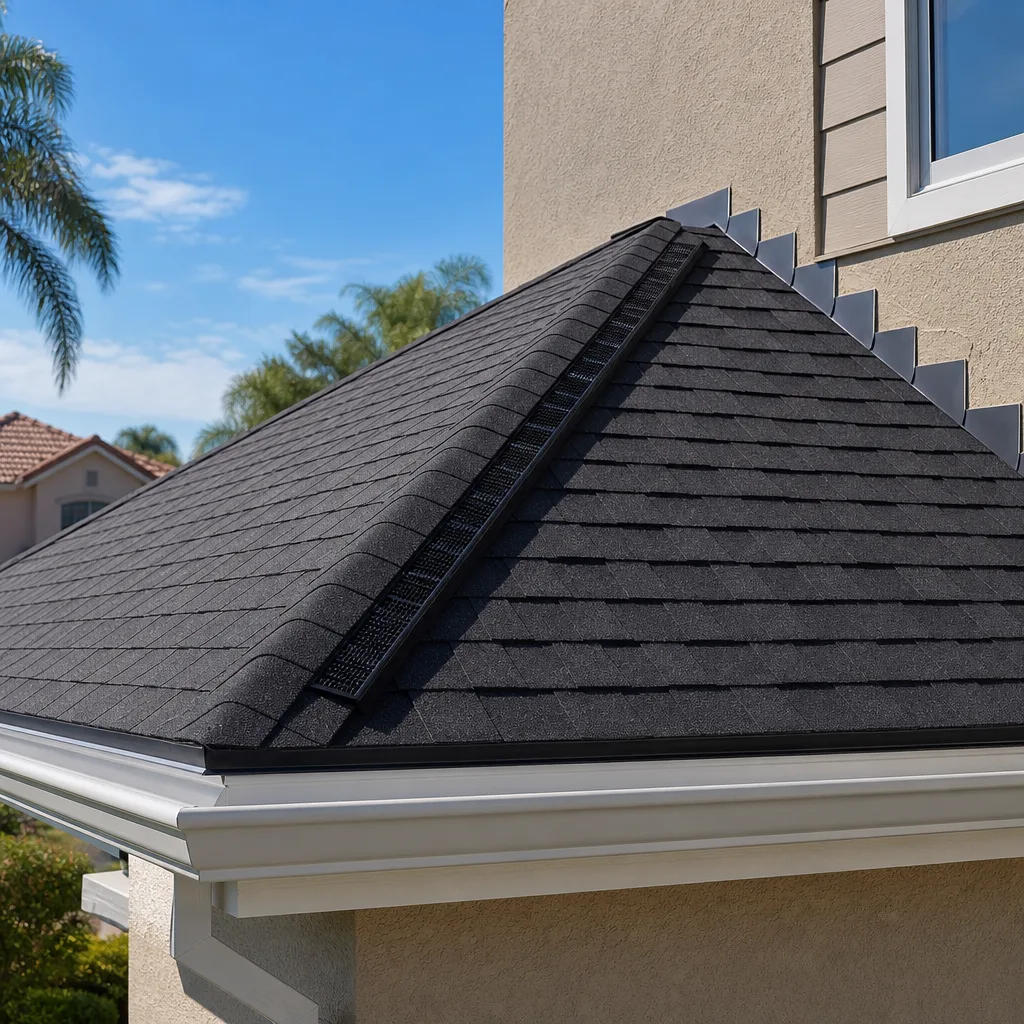
If you’re replacing your roof, you’re already paying to remove the old shingles and expose the deck. That’s the moment to visually confirm the deck attachment and the roof-to-wall connection, and to install rated roofing underlayment and a full shingle system from a manufacturer that publishes installation specs (GAF, CertainTeed, and Owens Corning are brands we install regularly; each has different system components and warranty structures, and matching them correctly is part of the job).
If you’re replacing your kitchen, bathroom, or another interior space, that’s the moment to look at the wall assembly behind the finishes, especially if there’s any historic leak or storm intrusion. A kitchen or bathroom remodel is not a hardening project per se, but a licensed contractor inside the wall can flag issues a cosmetic remodeler would cover up. Materials from Sterling and Grohe in a bath or kitchen install don’t just look better; they’re manufactured to withstand real-world water pressure and temperature cycles over decades, not a few seasons.
If you’re adding square footage or an ADU, you’re building new code-compliant construction alongside the older house. The new build is automatically up to current standards. The question to raise with the contractor is whether any of the older connections should be brought up while the crew is on site, since the incremental cost is very different from scheduling a separate later project.
Talk to your contractor about hardening scope before you sign the contract, not after. And as always, get the scope written down.
Preparedness for Renters and New Owners of Older North Miami Homes
Not every reader of this guide owns a 1990s-built single-family house. A large share of North Miami housing includes older homes that predate current wind-borne debris protection, condos and townhomes with shared envelopes, and rental or recently purchased properties where the buyer doesn’t yet know the history.
For renters, the construction decisions are the landlord’s, but the practical steps aren’t. Know where the unit’s shutters or impact glazing are, know how to operate the windows and doors, and document the condition of your unit on move-in with dated photographs. If a storm is coming, communicate with your landlord in writing about what’s been staged and what hasn’t been.
For new owners, the first order of business is to reconstruct the history of the house. Permits, previous inspections, prior re-roofs, and any window or door replacement records give you the baseline. Pull the permit history from the local building department, and walk the house with a licensed contractor to translate what’s on paper into what’s actually built. That inspection is a one-time cost that pays back the first time you need to know whether the deck is attached correctly.
Homeowners associations can be a real factor in North Miami. Some restrict the color, pattern, or product line for roofing, windows, and fencing. Before you buy materials for a hardening project, confirm the approval pathway, because the wrong color shingle on a GAF system is still a rejected re-roof. Getting the approval in writing before the install protects the timeline.
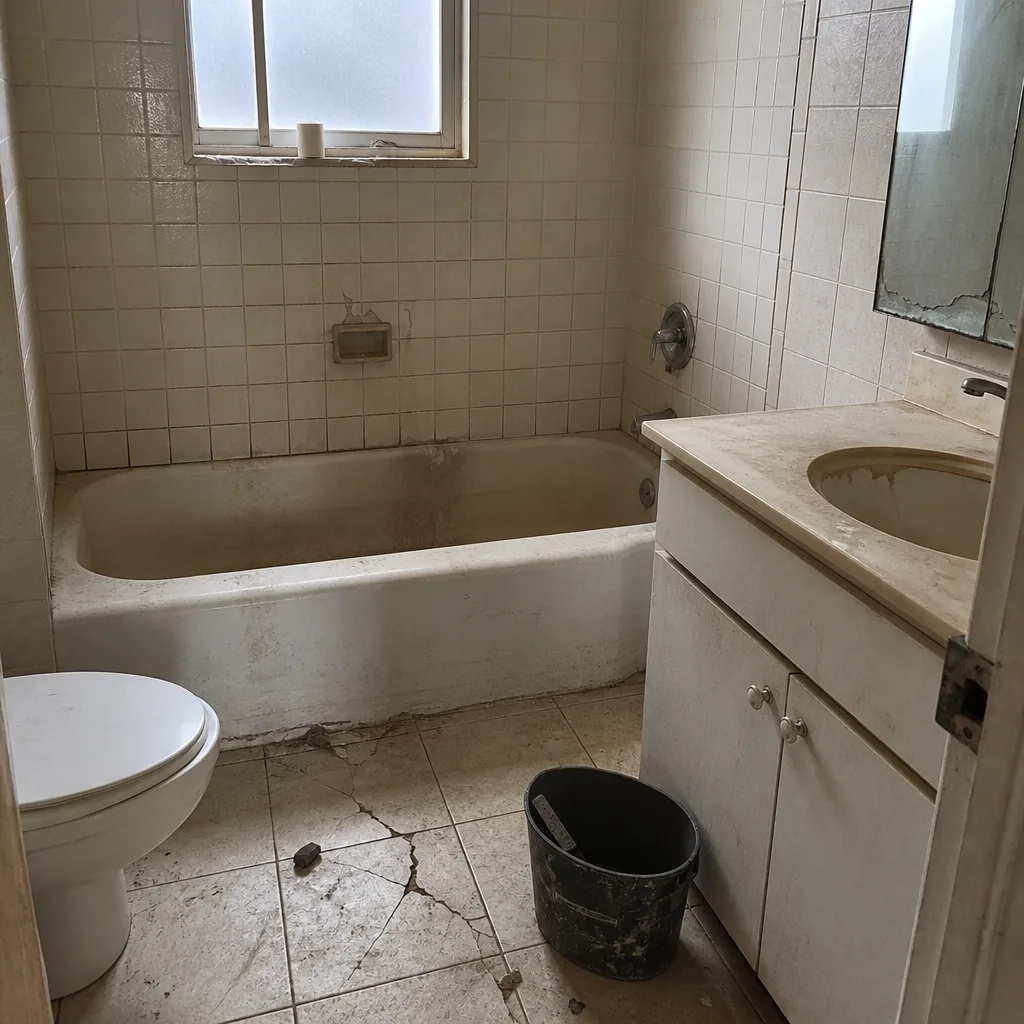
See the difference
 Before
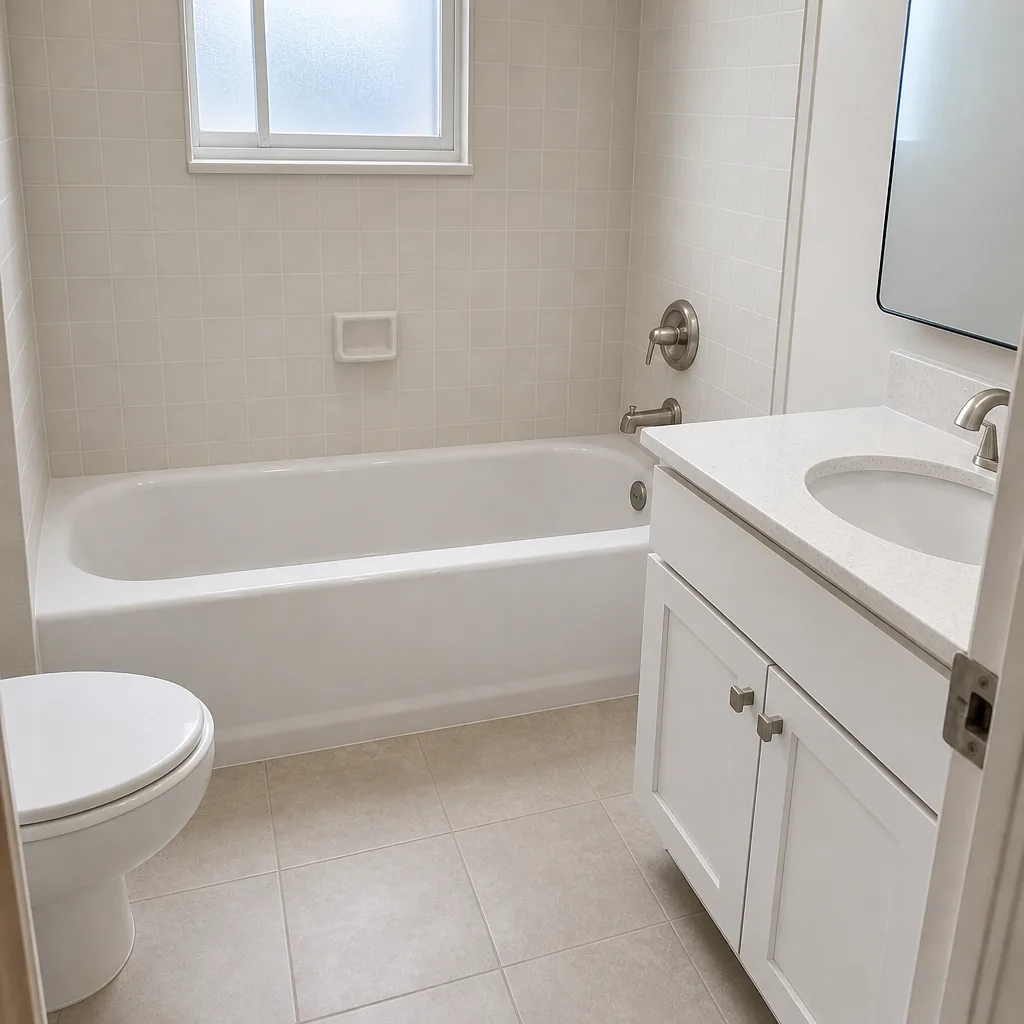 After
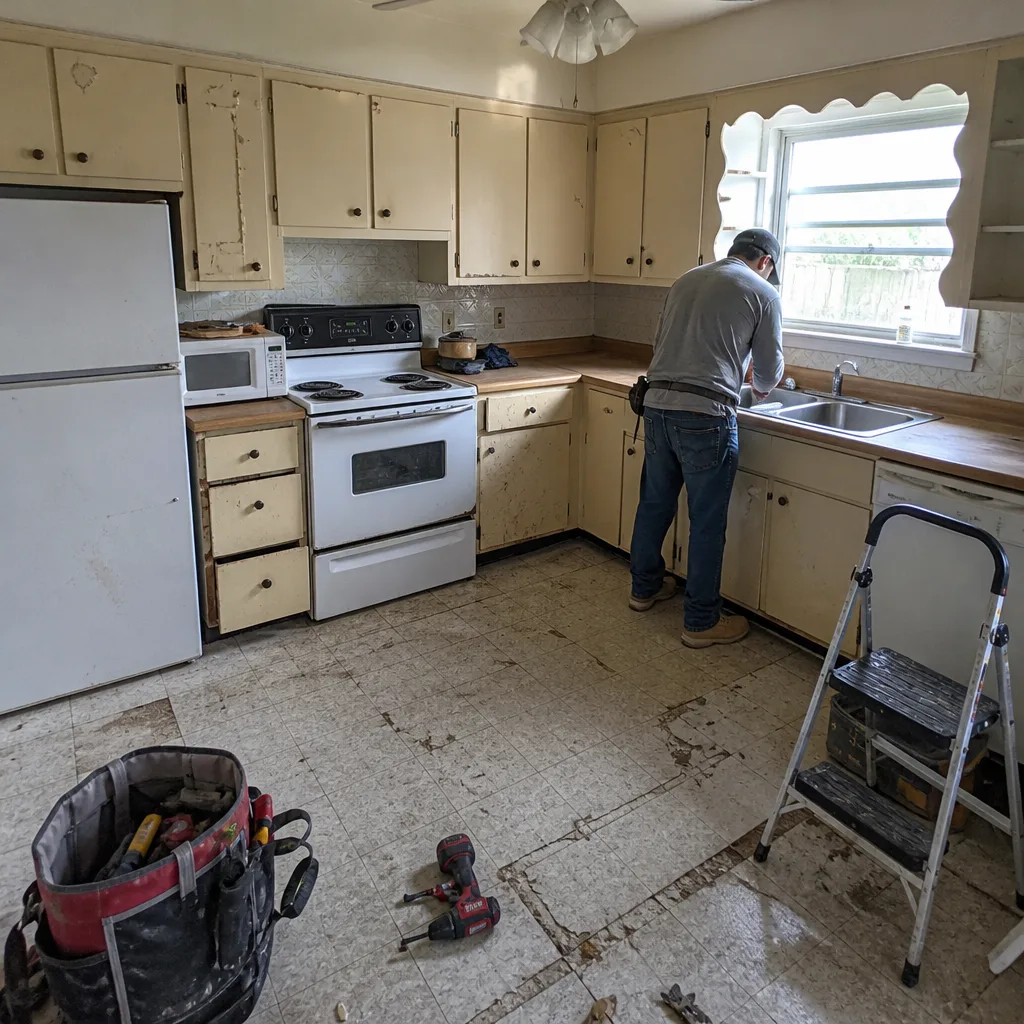 Before
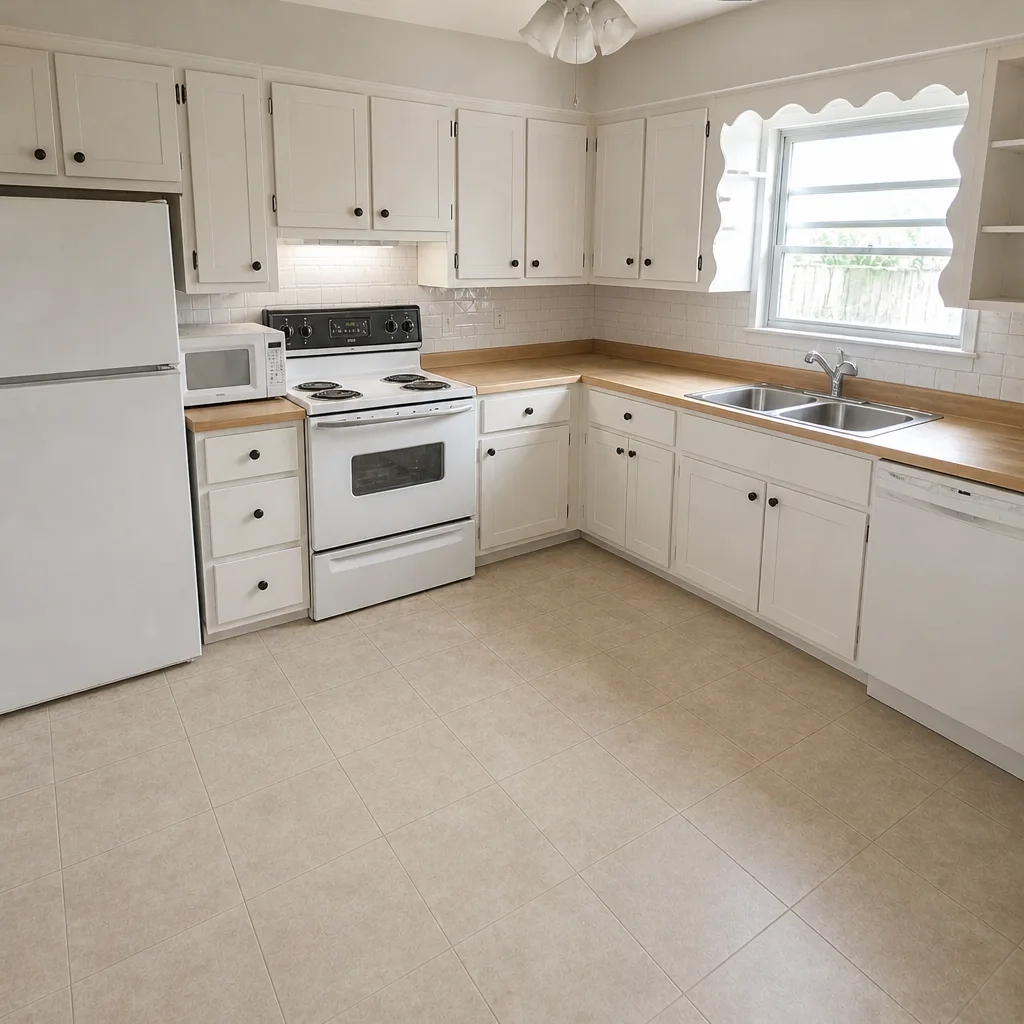 After
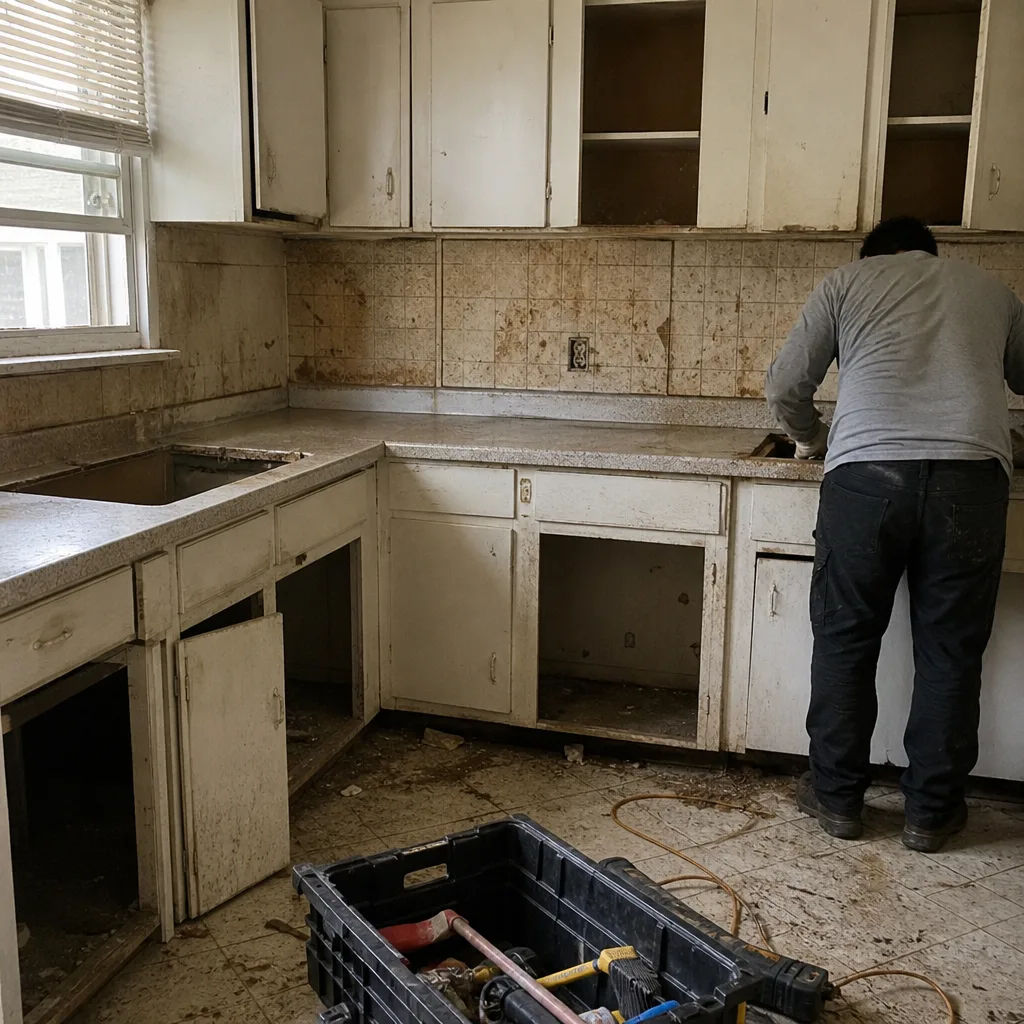 Before
 After
Common Mistakes to Avoid
- Treating storm prep as a shopping list instead of a construction audit. Backup batteries and water won’t help if your roof deck is attached with smooth-shank nails and the trusses aren’t strapped. The structural audit comes first.
- Deferring the roof deck and roof-to-wall connection until “someday.” These are the two failure points that most reliably turn a repair into a reconstruction. Do them at the next re-roof, not the one after.
- Buying impact windows without matching the installation assembly. The impact rating is certified for a tested assembly. A shortcut install, incorrect anchors, or a hidden shim compromises the rating no matter what the product spec sheet says.
- Staging shutters you can’t actually deploy. A shutter system is only as good as the homeowner’s ability to install it, on time, in bad weather. Test the deployment out of season, not on the day the storm is two hours out.
- Buying “emergency repair” products without checking how they perform. Thin plastic, patch sprays, and untested tapes fail in real conditions. Buy the products the trade actually uses on the roof, not the ones the aisle end-cap advertises.
- Skipping HOA approval on hardening upgrades. A rejected exterior material can stall a full re-roof or window replacement, and that wasted time is exactly when you can least afford it. Get written approval first.
- Cleaning up damage before documenting it. Discarded materials can’t be photographed, and unphotographed damage is easily disputed. Document first, then clean up.
When to Call a Professional
Some things in this guide are audit-and-observe. Others are call-in-a-professional. Call us when: the attic inspection shows trusses without metal connectors, or sheathing that reads as smooth-shank; a window or door won’t operate smoothly, or is showing sealant failure at the frame; a post-storm walk shows missing shingles, failed flashing, or any sign of water intrusion in the envelope; you’re planning a re-roof, window replacement, or door upgrade and want the resilience scope written into the contract from the start; or you’re considering an addition or ADU and want to know how to bring the older structure up to current hardening standards while the crew is on site. Our technicians have up to 9 years of experience across these trades.
North Miami Construction offers free estimates in North Miami – call (855) 842-6980. One contractor, every layer of your home, from the driveway to the roofline. You choose the brand, we handle the rest, with a curated roster of more than 50 manufacturer brands and a written, line-item estimate that sets the price for the job.
Frequently Asked Questions

The roof-to-wall connection and the roof deck attachment together are the highest-priority hardening upgrade, because those are the failure points that most often turn a repair into a reconstruction. If the deck lifts, water enters the envelope and the entire interior follows. The good news is that both can be addressed during a re-roof or via an attic inspection. Call (855) 842-6980 to schedule a free assessment.
Either compliant approach can satisfy the local wind-borne debris requirements, provided the installation matches the tested assembly and the code. Impact-rated windows are the more permanent answer, because there’s no deployment step and no storage question. Storm shutters work when they’re installed correctly and deployed in time. The wrong answer is buying a rated product and installing it below spec. Call us for an honest comparison on your specific home.
At North Miami Construction, the estimate is free and the price of any subsequent work is set per job by a written estimate. We’ll walk the attic, the roofline, the window and door openings, and the perimeter with you, and give you a prioritized list of what needs attention now versus what can wait for the next scheduled project. Call (855) 842-6980 to book it.
Document first. Photograph every room and every exterior elevation before any cleanup, inventory the damaged contents, and don’t discard damaged materials until they’ve been seen by an adjuster or a licensed contractor. Then get two written opinions on the repair scope. We can work with your insurer and provide written assessments with photos. Call (855) 842-6980 and we’ll help you build the documentation trail.
Yes, but with sequencing in mind. Opening protection is the second priority after the roof connections, and a home that has upgraded windows but a compromised roof deck still has a serious vulnerability. The best answer is to plan both in the next two to four years if the budget allows, and to start with whichever the attic inspection flags as more urgent. Call (855) 842-6980 and we’ll help you sequence it.
No. At North Miami Construction, the written line-item estimate sets the price for the job, and we don’t do change orders for scope that was already documented. The exception is genuinely new damage that wasn’t visible at the estimate: say, rot under the shingles that wasn’t exposed until the tear-off. When that happens, we document it and talk to you before proceeding. Estimates are free: call (855) 842-6980.
The Bottom Line
North Miami storm preparedness is a construction problem first. The roof-to-wall connection, the deck fasteners, the window and door assemblies, the cladding details, and the perimeter all decide what a storm does to your home before you’ve bought a single gallon of water. Inspect the house on the hardening hierarchy, prioritize the envelope, buy the materials and products the trade actually uses, and document everything the moment the storm passes. If you have a re-roof, window replacement, or larger project on the calendar, build the resilience scope into the contract now. It’s far cheaper than a reconstruction after the fact. Our technicians have up to 9 years of experience across every layer of the home.
North Miami Construction provides residential construction and remodeling across seven trade categories: driveway & pavers, fence installation, home additions & ADU, bathroom remodeling, windows & doors, roofing, and kitchen remodeling. We work with a curated roster of more than 50 manufacturer brands, from GAF and CertainTeed roofing systems to Sterling and Grohe fixtures, so the material decisions are yours to make and the execution is ours. North Miami Construction is the single accountable contractor for all seven categories, from the driveway to the roofline. Call (855) 842-6980 for a free estimate. We answer 24/7. Fast dispatch from 7am to 7pm, Sunday through Friday.
Written by the team at North Miami Construction.