Last updated November 18, 2026


Free written scope consultation - allowances, timeline, and change-order rules on paper before a single trade is scheduled
Driveway & Pavers Maintenance Checklist for North Miami Homeowners
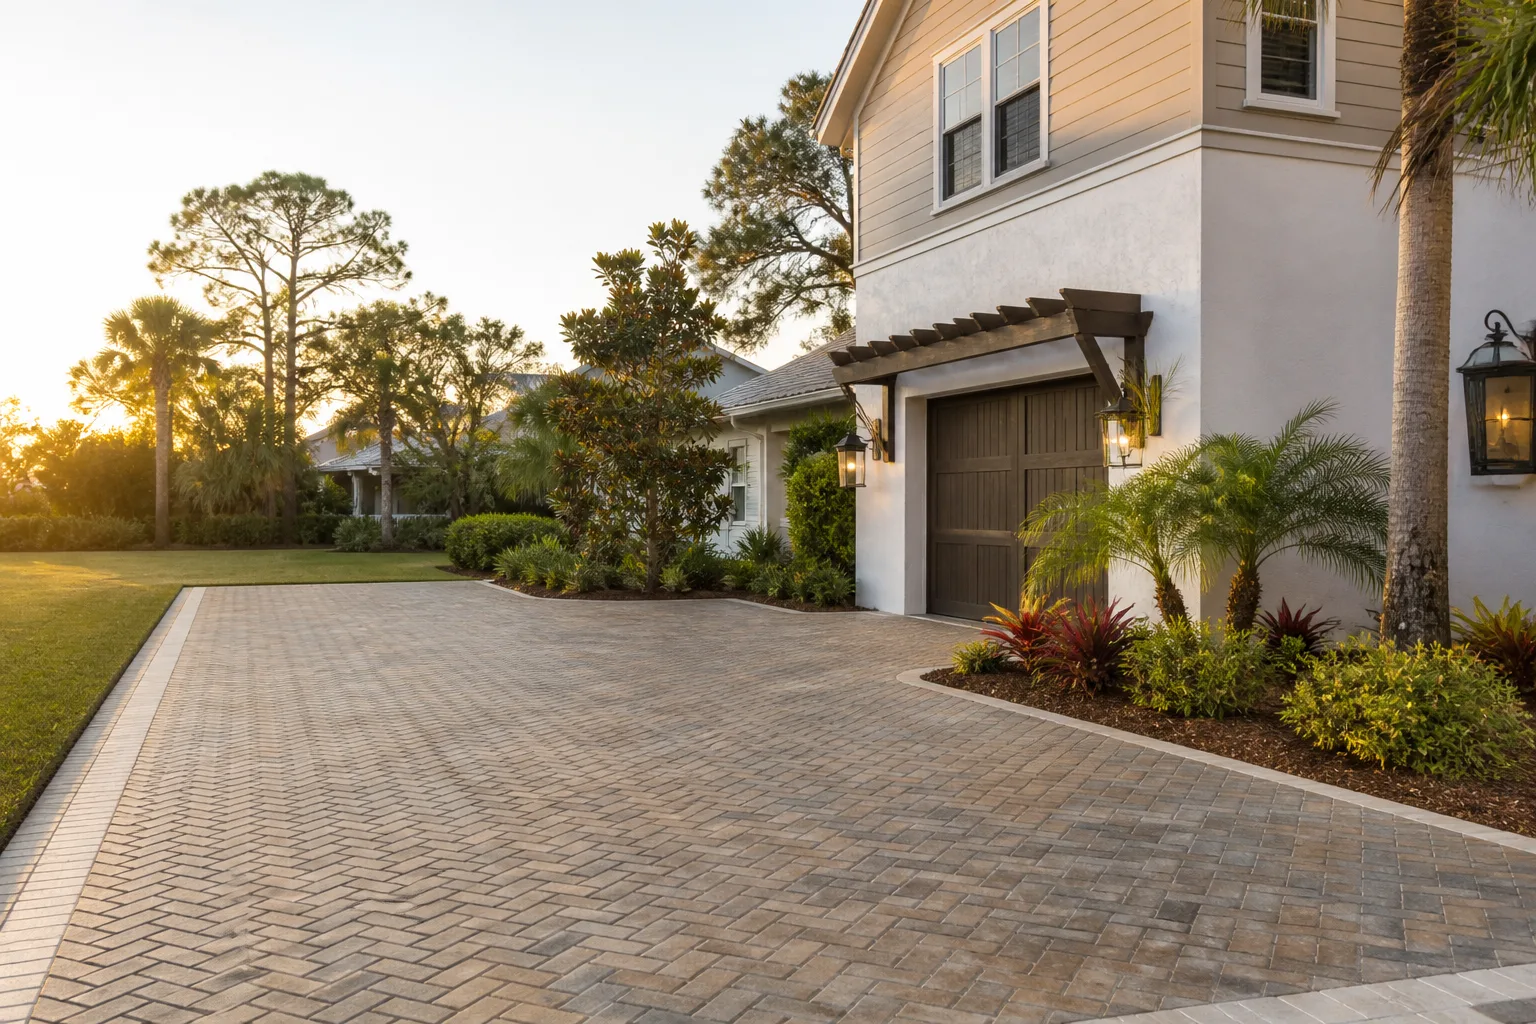
The number-one reason pavers fail in North Miami isn’t the storm. It’s the six weeks after the storm. When heavy rain finally drains off a driveway, the damage it did is mostly invisible: joint sand washed out of the gaps, water pooling under a base that wasn’t built to shed it, and edge restraints nudged out of line. By the time a section sinks under a tire, the problem started weeks earlier. Most homeowner guides repeat the same advice about sweeping and resealing. This one is built around the specific punishment a North Miami driveway takes: intense sun, dense tropical roots, and repeated soak-and-dry cycles. Read it as a working checklist you can actually keep up with.
Quick Answer
A paver driveway in North Miami needs joint sand topped up once a year, a full inspection after every heavy rain event, and resealing every two to three years depending on the material. Concrete pavers fade fastest in South Florida sun, travertine handles heat better but stains more easily, and porcelain holds color longest at the highest cost. The tasks that actually prevent failure are post-storm checks, edge restraint integrity, and keeping organic debris out of the joints.
Styles & brands we work with
- Kitchen remodeling
- Bathroom remodeling
- Home additions & ADU
- Roofing
- Windows & doors
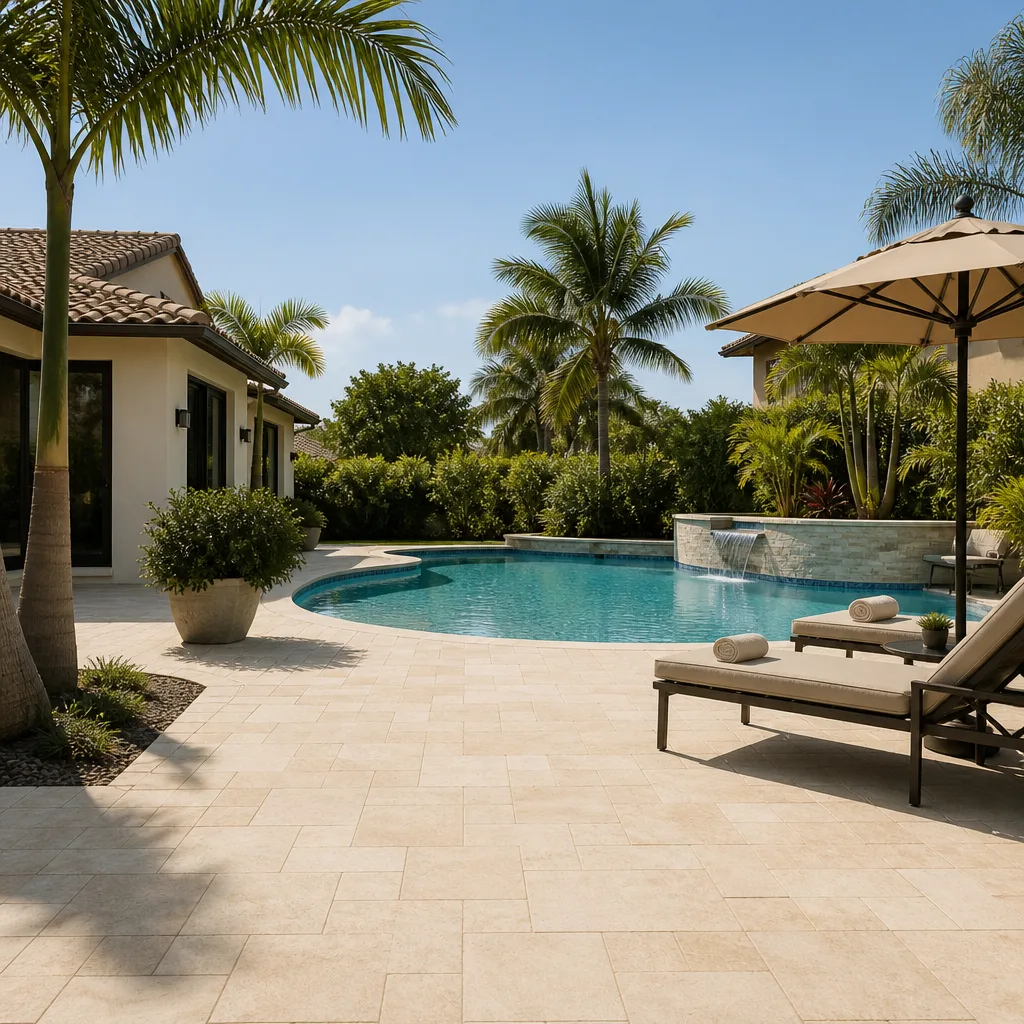
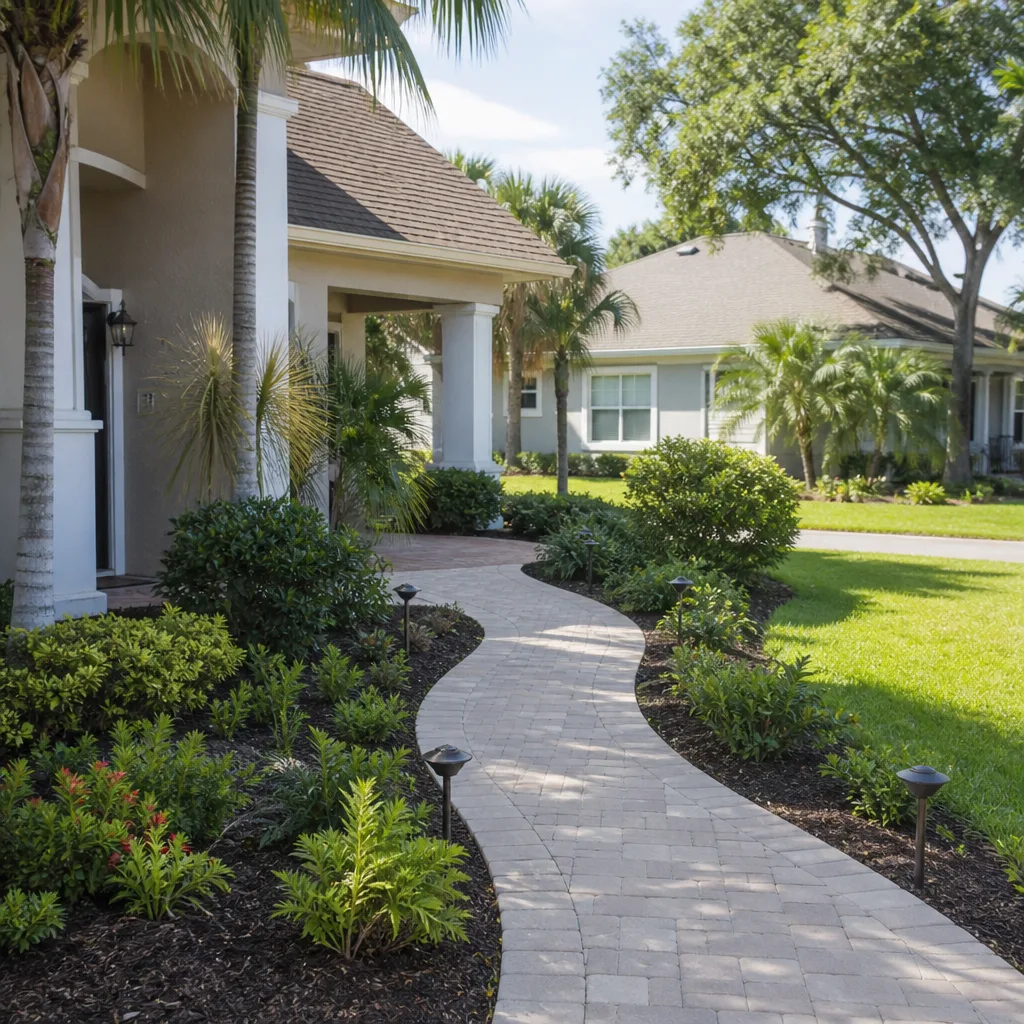
- Driveway & pavers
- Fence
Table of Contents
- Why a North Miami Driveway Ages Differently
- UV and Heat Degradation by Paver Material
- Post-Storm Inspection Protocol for South Florida
- Efflorescence: Cosmetic Bloom or Structural Leaching?
- Root Intrusion Risk From Common North Miami Landscaping
- Your Actual Maintenance Schedule: Annual, Biannual, and Event-Triggered
- Sealing and Joint Sand: What to Use and When
- Common Mistakes to Avoid
- When to Call a Professional
- Frequently Asked Questions
- The Bottom Line
Why a North Miami Driveway Ages Differently
A paver driveway here lives through a cycle that most maintenance advice ignores. Rain comes hard and fast, then drains, then the sun bakes the surface dry. Repeat that a few hundred times and the base under the pavers goes through a wet-and-dry rhythm that slowly works sand and fines downward. The pavers themselves look fine while the bed underneath loses stability. That’s why a driveway can seem flawless in March and have a soft spot by September.
On top of the water cycle, the sun does its own slow damage. UV exposure breaks down the color pigment in concrete pavers and degrades cheap sealers to a chalky film. The intensity in North Miami is roughly consistent year-round, which means oxidation never really takes a winter off. A paver that would last fifteen years in a milder climate can show meaningful color loss here in five.
The third factor is the landscaping. North Miami yards are dense and green, and mature tree roots run far wider than most homeowners realize. A ficus or a royal poinciana planted in a parkway strip can send roots under a driveway and lift pavers without ever cracking the surface. We’ve seen this repeatedly on driveways where the owner couldn’t understand why two or three pavers heaved up on a straight line.
The takeaway: you’re not maintaining a decorative surface. You’re maintaining a drainage system with a wear layer on top. Treat water first, roots second, and UV/color last, and you’ll get the ordering right. If you’re replacing a section or the whole driveway rather than maintaining one, our driveway & pavers service page covers base prep and material selection in more depth.
UV and Heat Degradation by Paver Material
Different pavers fail in different ways here, and knowing which you have tells you what to watch for. The three most common materials on North Miami driveways each have a distinct wear signature.
- Concrete pavers: The most common choice. Fade fastest under strong sun. Expect color loss in the top few years and a slight surface roughness as the cement matrix wears. Dense, color-through pavers from lines like Tremron and Belgard hold up better than cheap surface-dyed products.
- Travertine: Stays cooler underfoot and holds color well. Its weakness is porosity; in a wet-dry climate, travertine fills with fine dirt and can stain from organic debris and standing water. Needs sealing sooner than concrete.
- Porcelain: Best UV and stain resistance of the three. Almost no color fade. It’s also the most expensive, and it demands a very stable base because it’s less forgiving of any movement underneath.
The practical consequence is a different sealing interval for each. A concrete paver driveway in North Miami usually wants resealing every two to three years to slow oxidation and lock in joint sand. Travertine wants attention closer to every eighteen months to two years because of how quickly it takes on moisture and grime. Porcelain can stretch to three years or more, mostly because the sealer is protecting the joints, not the face.
What you don’t want is a “one sealer for everything” approach. A penetrating sealer that works on concrete may sit on top of porcelain and look cloudy. Match the sealer to the material, and make sure it carries UV resistance, because that’s the failure mode a North Miami driveway fights hardest.
Post-Storm Inspection Protocol for South Florida
This is where most driveways quietly fail. The inspection you do in the days after heavy rain matters more than anything you do on a routine monthly basis. Here’s the protocol, in order:
- Check joint sand displacement. Walk the driveway slowly after it dries and look for gaps where the sand has washed out. Runoff channels from the house, low corners, and the transition to the street are the usual suspects. If the joints are visibly low or the pavers rock slightly, sand is gone.
- Inspect edge restraints. The paver edge is held by a restraint, typically set in concrete. If the restraint has shifted, the pavers will start fanning out at the border. A gap between the last paver and the edge is an early signal, and it usually gets worse with the next rain.
- Test the surface membrane. If the driveway is sealed, the sealer is a water-shedding membrane. Scattered dull patches or areas that stay wet longer than the rest tell you the sealer has broken down. That’s a coating problem, not a paver problem yet.
- Look for ponding. Any spot that holds water more than a few hours after rain is either a low point from settled base or a drainage problem upstream. Ponding is the single biggest driver of sub-base failure, so flag it early.
- Check for paver heave. A single raised paver or a short straight line of raised pavers usually points to root pressure or a base issue under a small area. It doesn’t fix itself.
Do this walk within a few days of any big rain event, and once more after storm season. It takes fifteen minutes and will catch the problems that, left alone, turn into a four-figure repair. If you’d rather have trained eyes on it, we provide free written estimates and can walk the driveway with you.
Efflorescence: Cosmetic Bloom or Structural Leaching?
Efflorescence is the white, powdery haze that sometimes appears on concrete pavers. It’s salts migrating to the surface as moisture passes through the material, and then drying as a visible crust. In North Miami’s wet-dry cycles, it’s common, and it appears more often after a heavy rain or a stretch of humid days.
Most of the time it’s cosmetic. A light bloom that appears and then fades or brushes off after a dry spell is normal and harmless. The tile industry rule of thumb is simple: if it dissolves with a mild acidic cleaner and doesn’t come back quickly, it’s surface salts.
The version that should concern you is different. Recurring, dense, crusty efflorescence that returns within days is a sign that water is moving through the paver itself, or that the base and joints are saturated and can’t drain. That’s a moisture-management problem, not a stain. It often pairs with a soft spot or a sinking area, and over time, the paver surface can spall or crumble.
- Cosmetic bloom: light, uniform, brushes off, disappears with dry weather. Clean and move on.
- Chronic leaching: heavy, localized, returns fast, pairs with joint sand loss or ponding. Investigate drainage and base, not the stain.
The trap is reaching for acid cleaners on the visible crust and never asking why it keeps coming back. Fix the moisture, and the bloom stops. Seal the surface without fixing the moisture and you trap it, which makes the next round worse.
Root Intrusion Risk From Common North Miami Landscaping
Roots cause more driveway damage here than most homeowners expect, and they come from trees planted before the driveway went in. The good news: root damage is largely preventable with a properly specified base depth and, in high-risk spots, a root barrier.
Some of the usual offenders around North Miami yards:
- Ficus: Notoriously aggressive surface-to-shallow rooting. A mature ficus within a few feet of a driveway will find the moisture under the pavers and lift them over time. This is the highest-risk tree for driveway damage.
- Royal poinciana: Wide canopy means wide roots. Often fine with distance but disruptive close to the driveway edge.
- Gumbo limbo and mahogany: Large, shallow root systems that can heave pavers, especially where the base is thin.
- Palm species: Lower risk for pavers in most cases, though clumping palms close to the edge can still push.
Root barriers prevent most of this. A physical barrier buried along the driveway edge to a proper depth directs roots down and away. Where a barrier isn’t practical, base depth matters: a compacted granular base built to depth over well-drained soil gives roots less incentive to move sideways, and joint sand from brands like Quikrete or Sakrete, properly installed and kept full, resists the movement that creates openings.
If you’re replanting or planning a landscape update, think about the drive line first. A tree that looks right outside a bathroom window may be the wrong tree ten feet from your driveway. North Miami’s dense garden culture is a gift, but trees and pavers need a bit of planning between them.
Your Actual Maintenance Schedule: Annual, Biannual, and Event-Triggered
Vague seasonal advice doesn’t work in a climate that doesn’t really have seasons. Here’s a checklist split by frequency instead, so you can actually track it.
Every spring (once a year)
- Top up joint sand across the whole driveway, especially after a dry stretch. Sweep into joints and compact.
- Inspect edge restraints and pull any organic debris out of the joint lines.
- Check the sealer for dull patches and decide whether this is a reseal year.
- Trim back landscaping that overhangs the paver edge or drops heavy debris onto the drive.
Every six months
- Full inspection of joints, edges, and ponding spots, ideally after a rainy stretch.
- Clean with a pH-appropriate cleaner for your material (acid-free for travertine, standard paver cleaner for concrete).
- Re-assess root pressure on any pavers that heaved previously.
Event-triggered (do it when it happens)
- After any heavy rain: the post-storm walk described earlier.
- After tree trimming or major landscaping: check for root disturbance and joint sand loss.
- After a vehicle or heavy load rolls across the edge: the restraint takes the hit first.
- Whenever efflorescence appears and doesn’t fade within a week: investigate moisture.
Print the list, keep it in the garage, and the driveway stays ahead of the problems. The homeowners who call us for a repair are almost always the ones who never had this schedule. For anyone building a new driveway or thinking about a bigger exterior project, our North Miami Construction team can talk through what’s realistic.
Sealing and Joint Sand: What to Use and When
Sealer is often misunderstood. It does two things well: it slows UV oxidation and it stabilizes joint sand so rain can’t wash it out. It does not fix a failing base, and it does not stop roots. Put it on too soon after new pavers go in and it traps moisture; skip it entirely and the joints erode from the top down.
The usual timing is to let new pavers settle, top up the joints, then seal. After that, reseal on the material-specific schedule: every two to three years for concrete, a little more often for travertine, less often for porcelain. Choose a UV-resistant sealer rated for the paver type. A penetrating sealer is often the right pick for travertine and porcelain; a film-forming sealer can give concrete a richer look but has to be maintained more carefully.
Joint sand is the other half. It’s not decoration; it’s what makes the pavers a flexing, draining surface instead of a loose pile. Choose a joint sand designed for pavers, keep it topped up, and check after every big rain. This is where a lot of driveways quietly lose their ability to perform. If it’s already gone, a re-sanding and re-compaction job is worth doing before you reseal.
If you’re not sure what’s currently on your pavers, don’t layer a new sealer on top of an unknown product. We can look at it and give you a clear plan with a written estimate. This is also a good moment to look at the rest of the home: the same exterior-facing logic applies to fence installation and to the roof above it.
Common Mistakes to Avoid
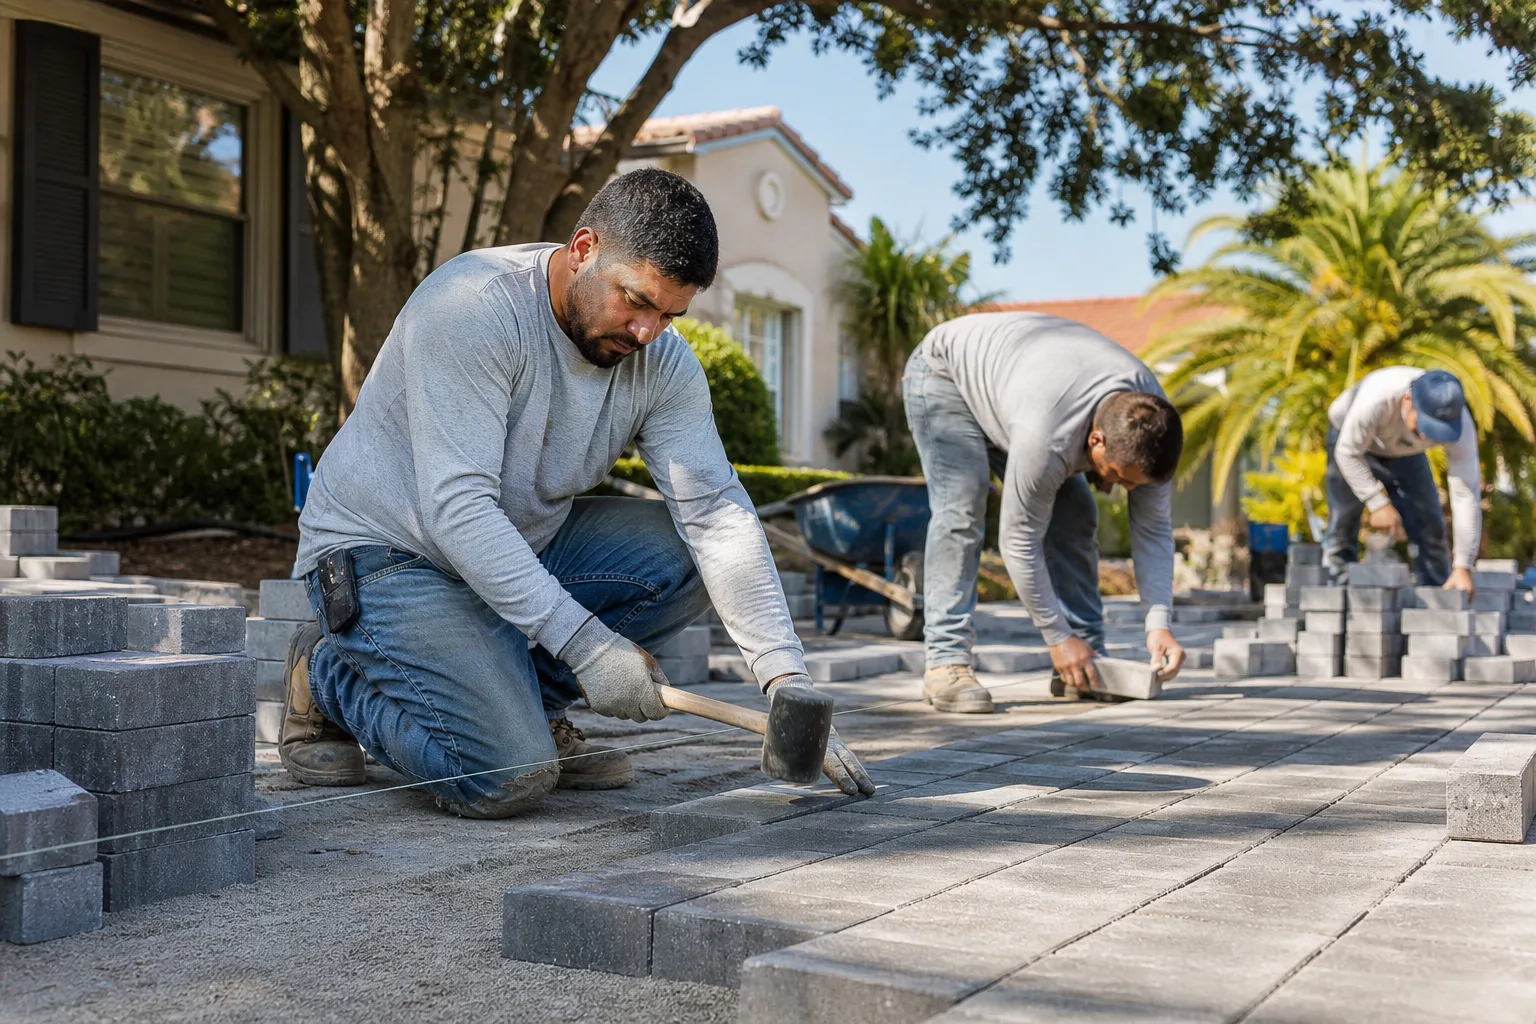
- Pressure-washing at full strength. It strips joint sand and roughens the paver surface, which makes future staining worse. Low pressure with a fan tip and a proper cleaner is the correct approach.
- Resealing without cleaning and topping up sand first. Sealing over a dirty or sandy-missing surface traps grit and leaves the joints dry. Clean and re-sand first.
- Acid cleaner on travertine or other sensitive stone. It etches the surface and creates permanent staining. Match the cleaner to the material.
- Ignoring a single heaved paver. That one paver is usually the first sign of root pressure or a spot of failed base, and it gets worse fast.
- Letting landscaping overhang the driveway edge. Dense foliage keeps the edge and joints wet and hides root activity. North Miami landscaping can crowd the paver edge if it isn’t kept back.
- Skimping on base depth during a repair. Patch repairs are only as durable as what’s underneath. A quick fill over a bad base will fail again after the next big rain.
- Assuming the storm is the problem. The six weeks after the storm, when saturated joints and ponding go unnoticed, is when the real damage takes hold.
When to Call a Professional
Most maintenance is DIY-friendly: sweeping, topping up joint sand, cleaning, keeping landscaping back. Call a professional when the problem is structural or when it’s structural in disguise. That means a driveway that ponds after rain, a section that keeps sinking even after re-sanding, edge restraints that have clearly moved, or recurring efflorescence that doesn’t stop. It also means any paver damage that’s letting water reach the base. A short call can save you from layering a patch over a problem that’s going to come back.
North Miami Construction offers free estimates in North Miami. We work with pavers from Belgard, Unilock, Tremron, Techo-Bloc, and Cambridge Pavers, and we’ll tell you honestly whether maintenance is enough or whether a section needs rebuilding. Our technicians have up to 9 years of experience. Call (855) 842-6980. We answer 24/7. Fast dispatch from 7am to 7pm, Sunday through Friday.
Frequently Asked Questions
Every two to three years for concrete pavers, every eighteen months to two years for travertine, and around every three years for porcelain. The UV intensity in North Miami accelerates sealer breakdown, so check for dull or water-absorbing patches and reseal before they become bare. Call (855) 842-6980 for an honest assessment of your driveway’s current state.
White bloom is usually efflorescence, which is salts migrating to the surface as moisture moves through the pavers. Light bloom that brushes off after a dry spell is cosmetic. Crusty, recurring bloom that returns in days points to a moisture problem under the surface, and that should be checked by a pro before it turns into spalling. Call (855) 842-6980 for a free estimate.
Yes, but at low pressure with a wide fan tip, and not too close to the joints. High pressure strips joint sand and roughs the surface. Clean with a proper paver cleaner, let it dry, re-sand, and reseal if needed. If joints are already low, have the sand topped up before you wash.
Ficus is the biggest one. Its aggressive shallow roots will find moisture under pavers and lift them. Royal poinciana, gumbo limbo, and mahogany also send large roots close to the surface. A physical root barrier along the driveway edge, plus base depth built correctly, is the best prevention.
Walk the driveway once it’s dry and check three things: joint sand loss, edge restraint gaps, and spots that stay wet longer than the rest. Any section of pavers that’s raised or loose after rain needs a closer look, since it usually points to base or root issues. North Miami Construction provides free written estimates and can inspect at the same time. Call (855) 842-6980.
Often yes, if the failed area is small and the base beneath it is solid. A section repair means pulling the pavers, rebuilding the base, re-laying and re-sanding to match. It only works when the surrounding base is sound. If the whole drive has settled unevenly, a full rebuild is usually the more honest call. Free written estimates set the actual cost.
The Bottom Line
A paver driveway in North Miami survives on drainage and joint integrity, not on how often you sweep it. The core habits: keep joint sand full, inspect after every heavy rain, check the edges and ponding spots, watch for root pressure from the landscaping, and reseal on a material-specific timetable. Do those and a driveway lasts well beyond what a neglected one would. Skip them and the repair bill goes to structural work, not cosmetics. If you’re not sure where yours stands, or you’re planning a new driveway or a wider exterior project, our team handles the full exterior scope, from the driveway up through the home additions & ADU side of the house. Call (855) 842-6980 for a free estimate. We answer 24/7. Fast dispatch from 7am to 7pm, Sunday through Friday.
Written by the team at North Miami Construction.
See the difference
 Before
 After
 Before
 After
 Before
 After